Look what I did! (Stave drum build) [PIC HEAVY]

Mike_L

Member
Hey guys,

About a month ago I got a short vacation from work so I decided to spend it on a little project. I've been interested in drum building for a while but never had the funds. So now that I did, I pulled the trigger and went for it. This is the result: It's a 14" x 5.5" red oak stave snare with a double 45 degree bearing edge, 10 double ended tube lugs, an RCK strainer/butt, and Puresound wires .


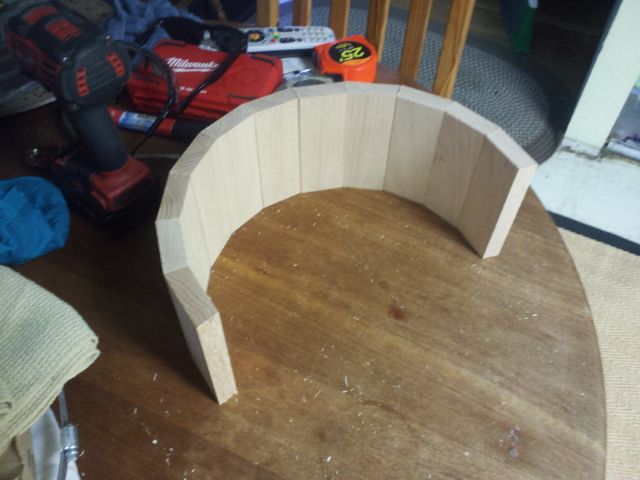
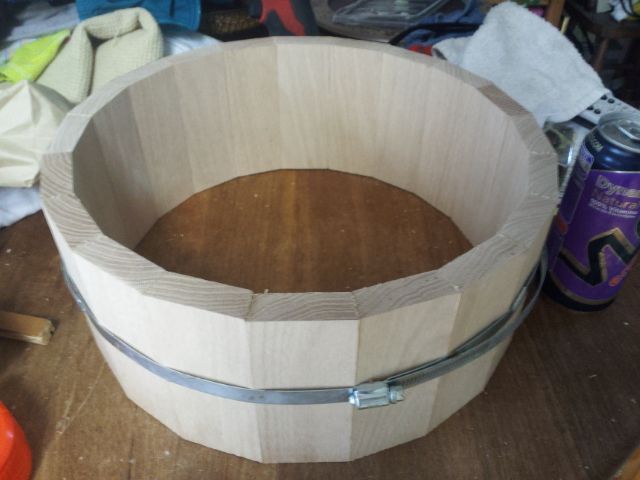
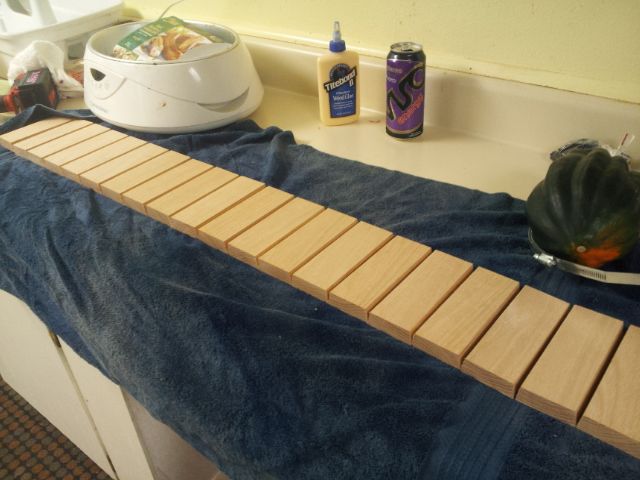
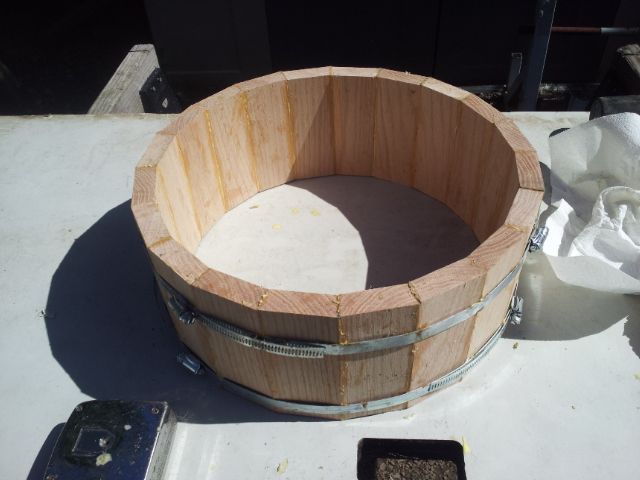
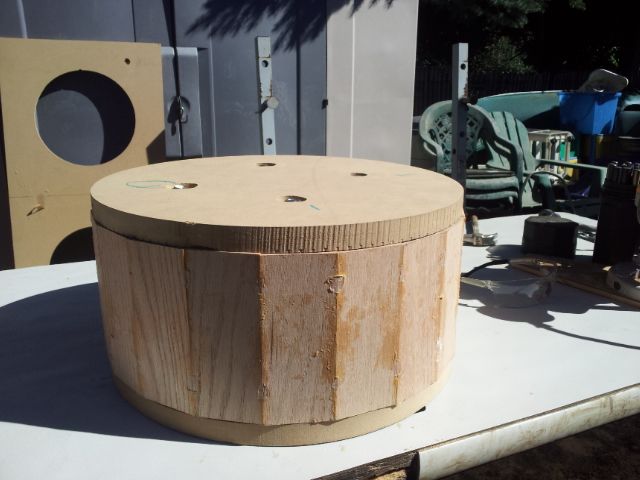
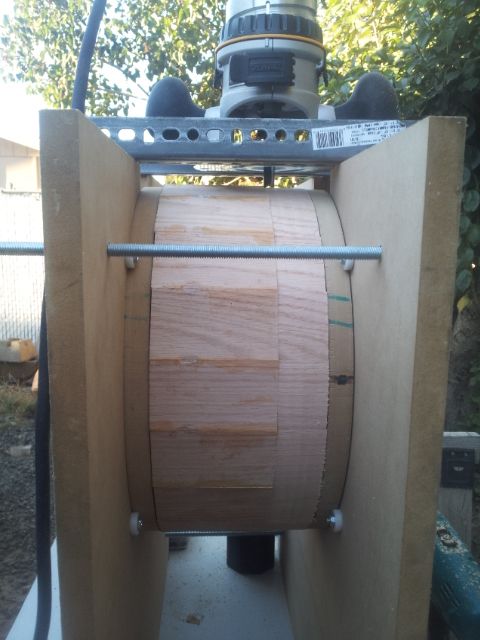
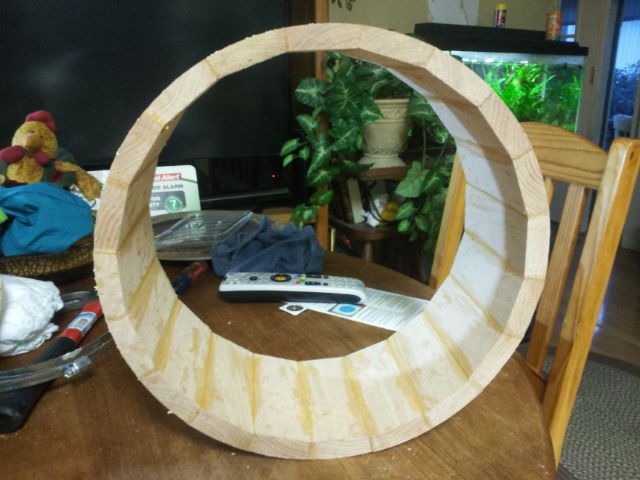
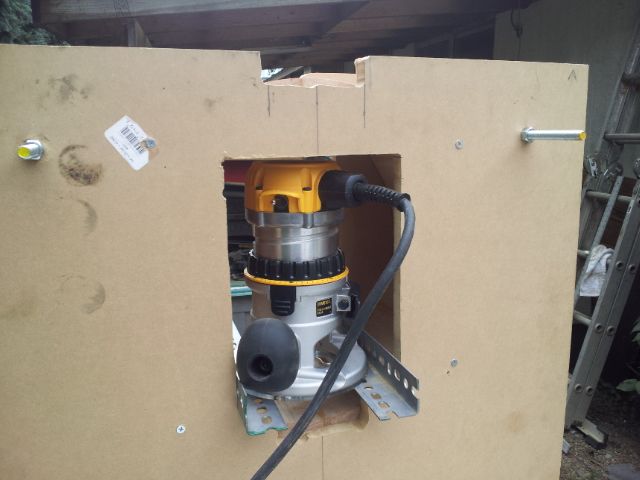
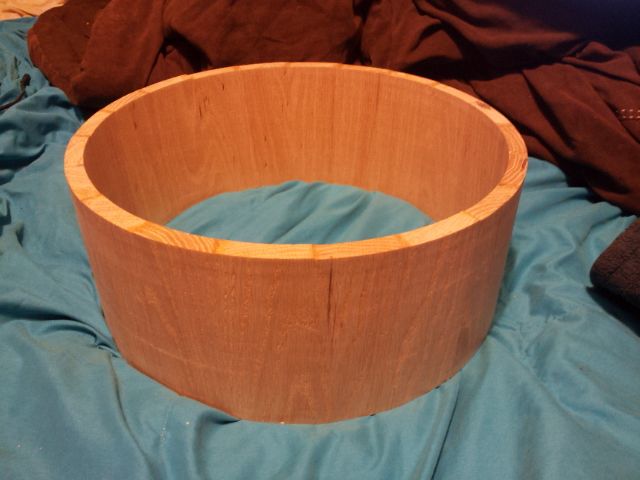
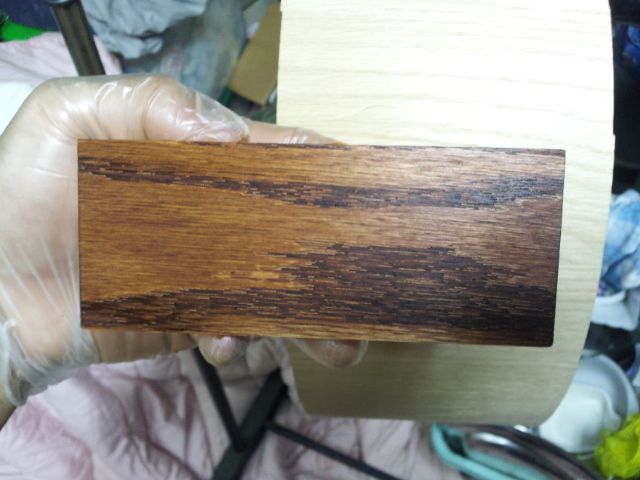
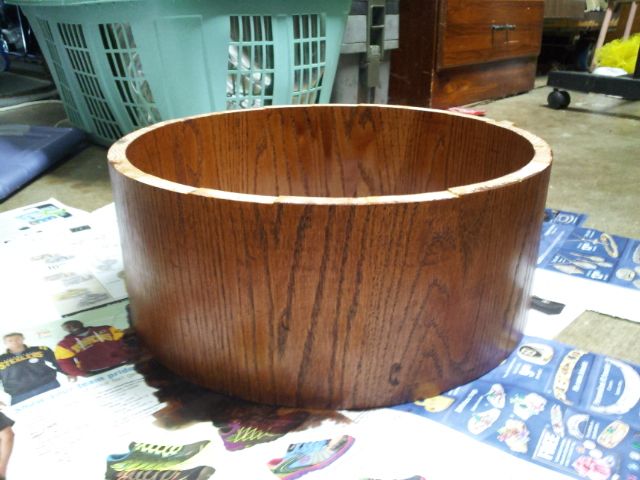
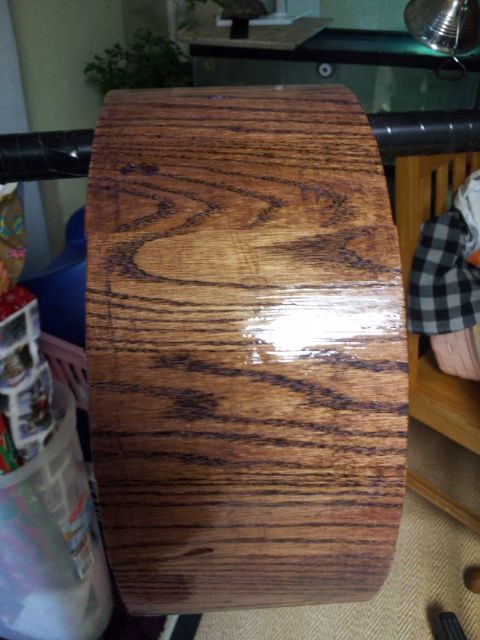
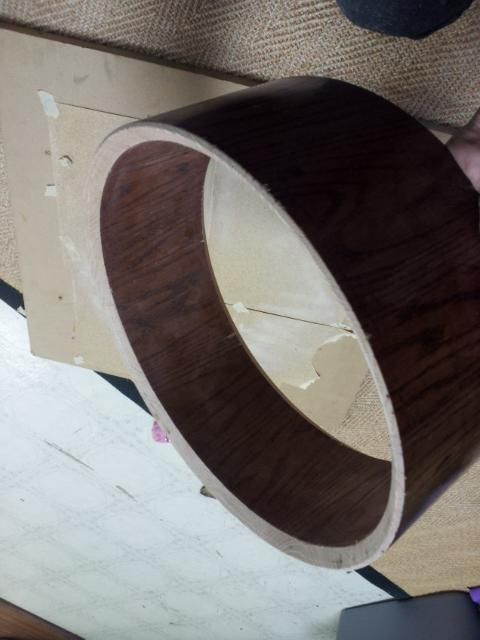
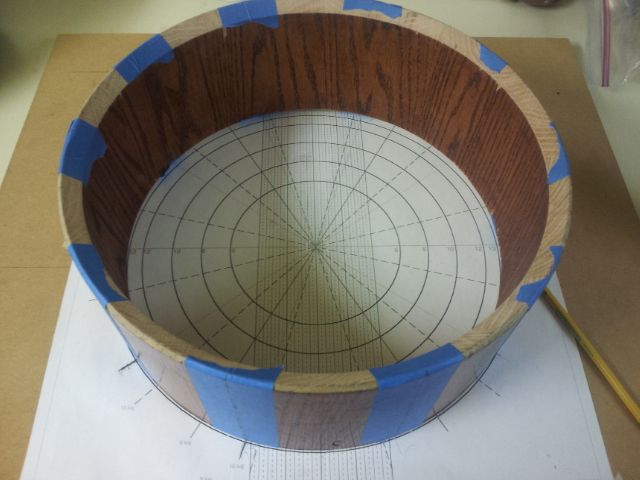
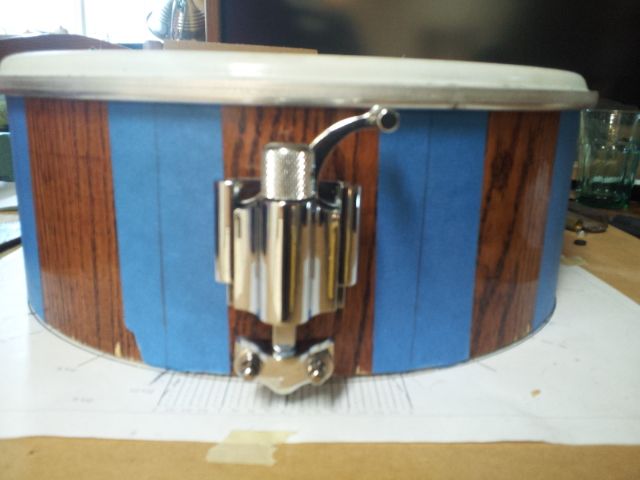
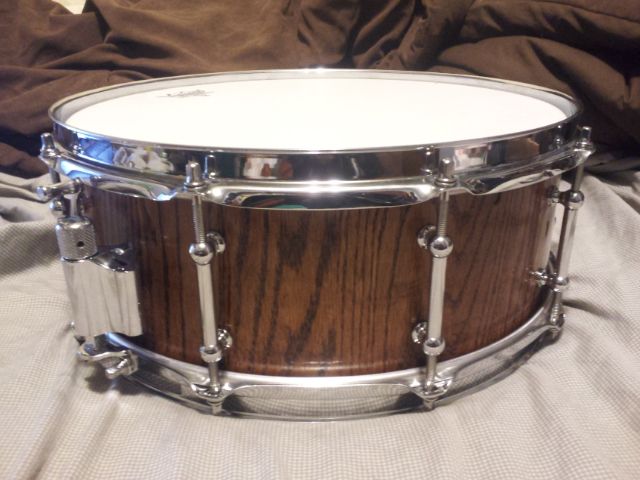
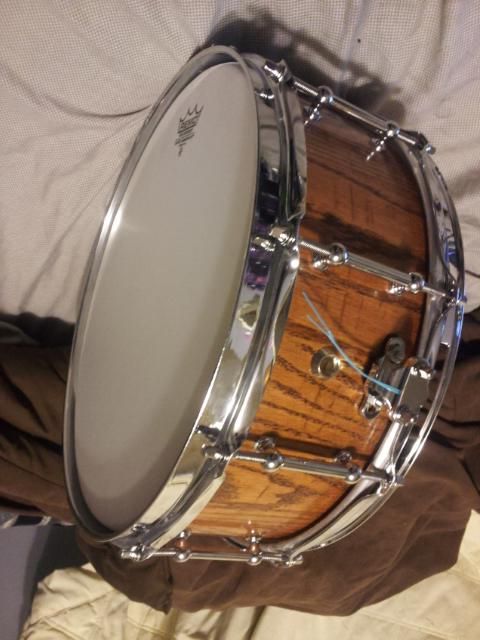
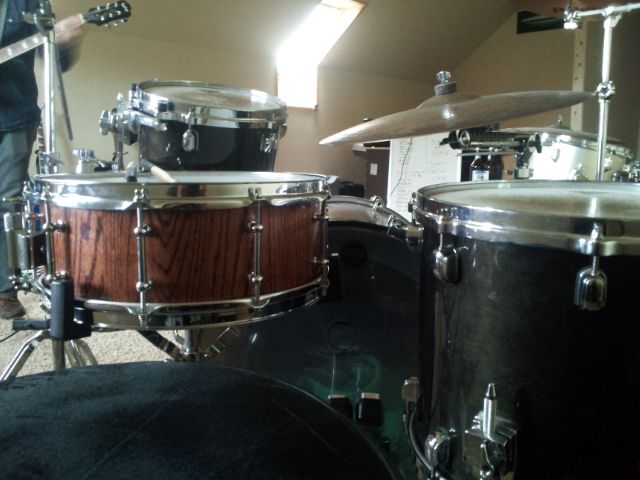
It's very far from perfect, but for my first drum build ever I'm extremely please with how it turned out and it sounds great! I want to thank all you guys from Ghoste Note and Drum Town, as well as everybody who contributed to this goldmine of drum building information: http://pdgood.us/drumshed/ <----if you're looking into building stave or ply drums, this is the site you want to go to.

Again, thanks everybody!
 
Very cool, great job.
Have you put up any videos of the drum being played?
 
Thanks for the comments/compliments! I'm glad you guys like it. :)

Wow that's some damn fine ingenuity! Looks great! How did you cut the snare bed?

Believe it or not, I actually just used a double sided rounded/flat file and filed it down about an eighth of an inch. I was surprised how accurate of a result I got with that method. A lot of people use jigs on a router table, but that just seemed too excessive for me.

Have you put up any videos of the drum being played?

Unfortunately I haven't gotten around to taking any video. Every time I'm over at my bands practice space I always forget. But I'll make sure to take some samples the next time I've over this week.

I am sure it sounds every bit as good as it looks.

Actually, I think it sounds BETTER than it looks. You can't see from the pictures, but I gouged the drum a bit when the router slid off the tracks once. It's mostly hidden by the hardware.

I'll try to get a video up sometime this week.
 
Nice Job!!........ I am just putting the finishing touches on my woodshop (moving out of the garage) and just this last weekend I was eyeing up a nice section of Red Oak I have had targeted for my first drum build. If it turns out half as nice as yours did I will be very pleased.....

I like your router jig for turning down the outer shell. How did you turn the inside?

Thanks for sharing!....... Terry
 
Never mind I just saw the inside turning set up..... :) Terry
 
Mad skills. Must have taken a lot of effort to make all the jigs.
Great job and fantastic results!

Neal
 
Crazy! How did you do that? I think I have most of the tools, including a table saw. How did you calculate the angles, etc. etc.? I always thought you needed all kinds of exotic tools to make a stave drum. I might be able to do it with my table saw if I could figure out the angles. I have a drill press and many clamps, although I'd have to find some of the huge compression clamps. Seems like the sanding would be the hardest part, like you would need a lathe.

Wow, jaw-dropping work.
 
It's beautiful!!! I always wanted to make a snare, there's nothing like being able to build something and call it yours. I was never good at geometry so I feel like I'd have some trouble with a build like this.
 
That is amazing! Nice job.
I love the jig w/the router, that's pretty cool.

Yeah, it's a really clever design created by Koko over at the drum building forums. His design is actually for sizes all the way up to 18" I think. I was just lazy and made mine for a 14" shell.

Nice Job!!........ I am just putting the finishing touches on my woodshop (moving out of the garage) and just this last weekend I was eyeing up a nice section of Red Oak I have had targeted for my first drum build. If it turns out half as nice as yours did I will be very pleased.....

I like your router jig for turning down the outer shell. How did you turn the inside?

Thanks for sharing!....... Terry
I'll be on the lookout for your thread!

???? - is it the 8th pic with the router inside the box?

Mike_L - it turned out looking mighty fine.
Thank you! I used the same jig for turning the inside as I did the outside, only I cut a hole big enough to fit the router and tracks through, moved those inside, and ran the router through the inside of the shell that way.

Mad skills. Must have taken a lot of effort to make all the jigs.
Great job and fantastic results!

Neal
I was never good at geometry so I feel like I'd have some trouble with a build like this.
Thanks guys, but it really wasn't hard at all. The sites I linked to have all the information you'll ever need, including pre set calculations for angles, etc... So this project doesn't actually take a WHOLE lot of math. But basic math skills will definitely make it easier on you. The only thing I recommend outside the obvious tools is a digital angle gauge/protractor. I found out that if the angle of your bevel edges is off by even less than a tenth, the staves won't form a perfect circle or they will but the edges won't be flush with eachother.
 
A couple of questions for you Mike....... I know I always learn something from every project I do and there is always something I would do different the next time. What did you learn and what would you do different on your next build?...... Terry
 
A couple of questions for you Mike....... I know I always learn something from every project I do and there is always something I would do different the next time. What did you learn and what would you do different on your next build?...... Terry

Good question!

The biggest thing I learned I mentioned earlier, is if your bevel edges on the staves are off by as much as half a degree, your staves won't make a full circle and you won't have a drum. To anybody wanting to make a drum, do yourself a favor and pick up a digital angle gauge or protractor and save yourself the trouble and money of making mistakes. Being off on your angles means starting over. (I've done that twice in the past when I didn't have the funds for the right tools)

Other than that, the second biggest thing, which should have been a no brainer, was to sand WITH the grain and not against it. That left several scratch marks that were hard as hell to fill.

When using a router to mill the inside and outside of the drum, you don't want to pause the rotation of the drum or else the router bit will leave circular burn marks which are a pain in the ass (or impossible) to sand out.

Drilling. Unless you're absolutely perfect at everything you do, I would recommend against drilling your holes by hand. I did mine by hand and they work, but the holes weren't perfectly lined up. It's not a noticeable error to others, but I see it because I know it's there. I'm clamping it down and using my old drill press next time.

Another thing about drilling, there are certain drill bits that you can use that will avoid tear outs (ripping off small chunks of wood). I think what most people use are brad point bits and unibits. I used a regular drill bit and got small tear out everytime. It was on the inside and covered by washers so I didn't really care. At that point I just wanted to finish the drum.

When I was doing my bearing edges, I just went for it and end ended up getting a bit of tear out. I later learned that you want to adjust the speed of the router to avoid this. I'm not sure if I had it too fast or too slow, though.

Like I said, the drum isn't perfect and I'm sure there's more mistakes I made and forgot to list. But I leaned a lot throughout the process and for that I'm extremely happy.

Mike
 
Thanks for the response..... I'm sure you just cut the mistakes I'll make by a third.... :) Terry
 
Back
Top